Connect OAK
This section is created as a guide for first-time users of OAK. This guide will help you connect your OAK device to the RobotHub platform. To learn how to start developing on your OAK visit the Quick Start section.
Sign into RobotHub
Firstly we have to make sure that our RobotHub account is ready.
- Sign in to your RobotHub account using your email and password
Install agent
To use the OAK camera with RobotHub it is necessary to install the Agent.

- Click on
Add Robot - Open your terminal
- Run the command displayed on the screen inside your terminal
- After a successful installation text will appear inside your terminal indicating that the installation was completed.
1╭──────────────────────────────────────────────────────────╮
2│                                                          │
3│  RobotHub Agent Installer                                │
4│  Linux / x86_64                                          │
5│                                                          │
6│  Installation complete!                                  │
7│  Use `robothub-ctl help` to manage the agent.            │
8│                                                          │
9╰──────────────────────────────────────────────────────────╯
txt
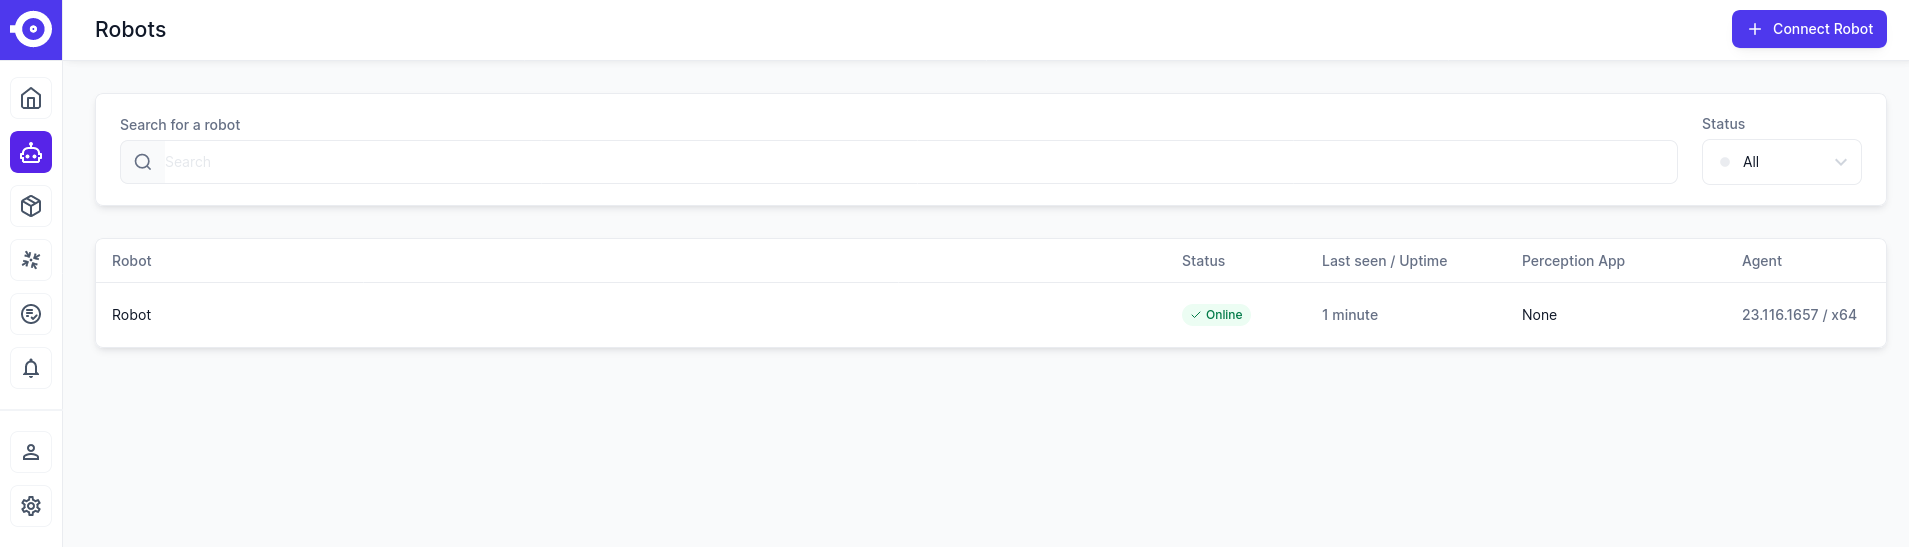
Adopt Robot
- Head over to the Robots section of RobotHub
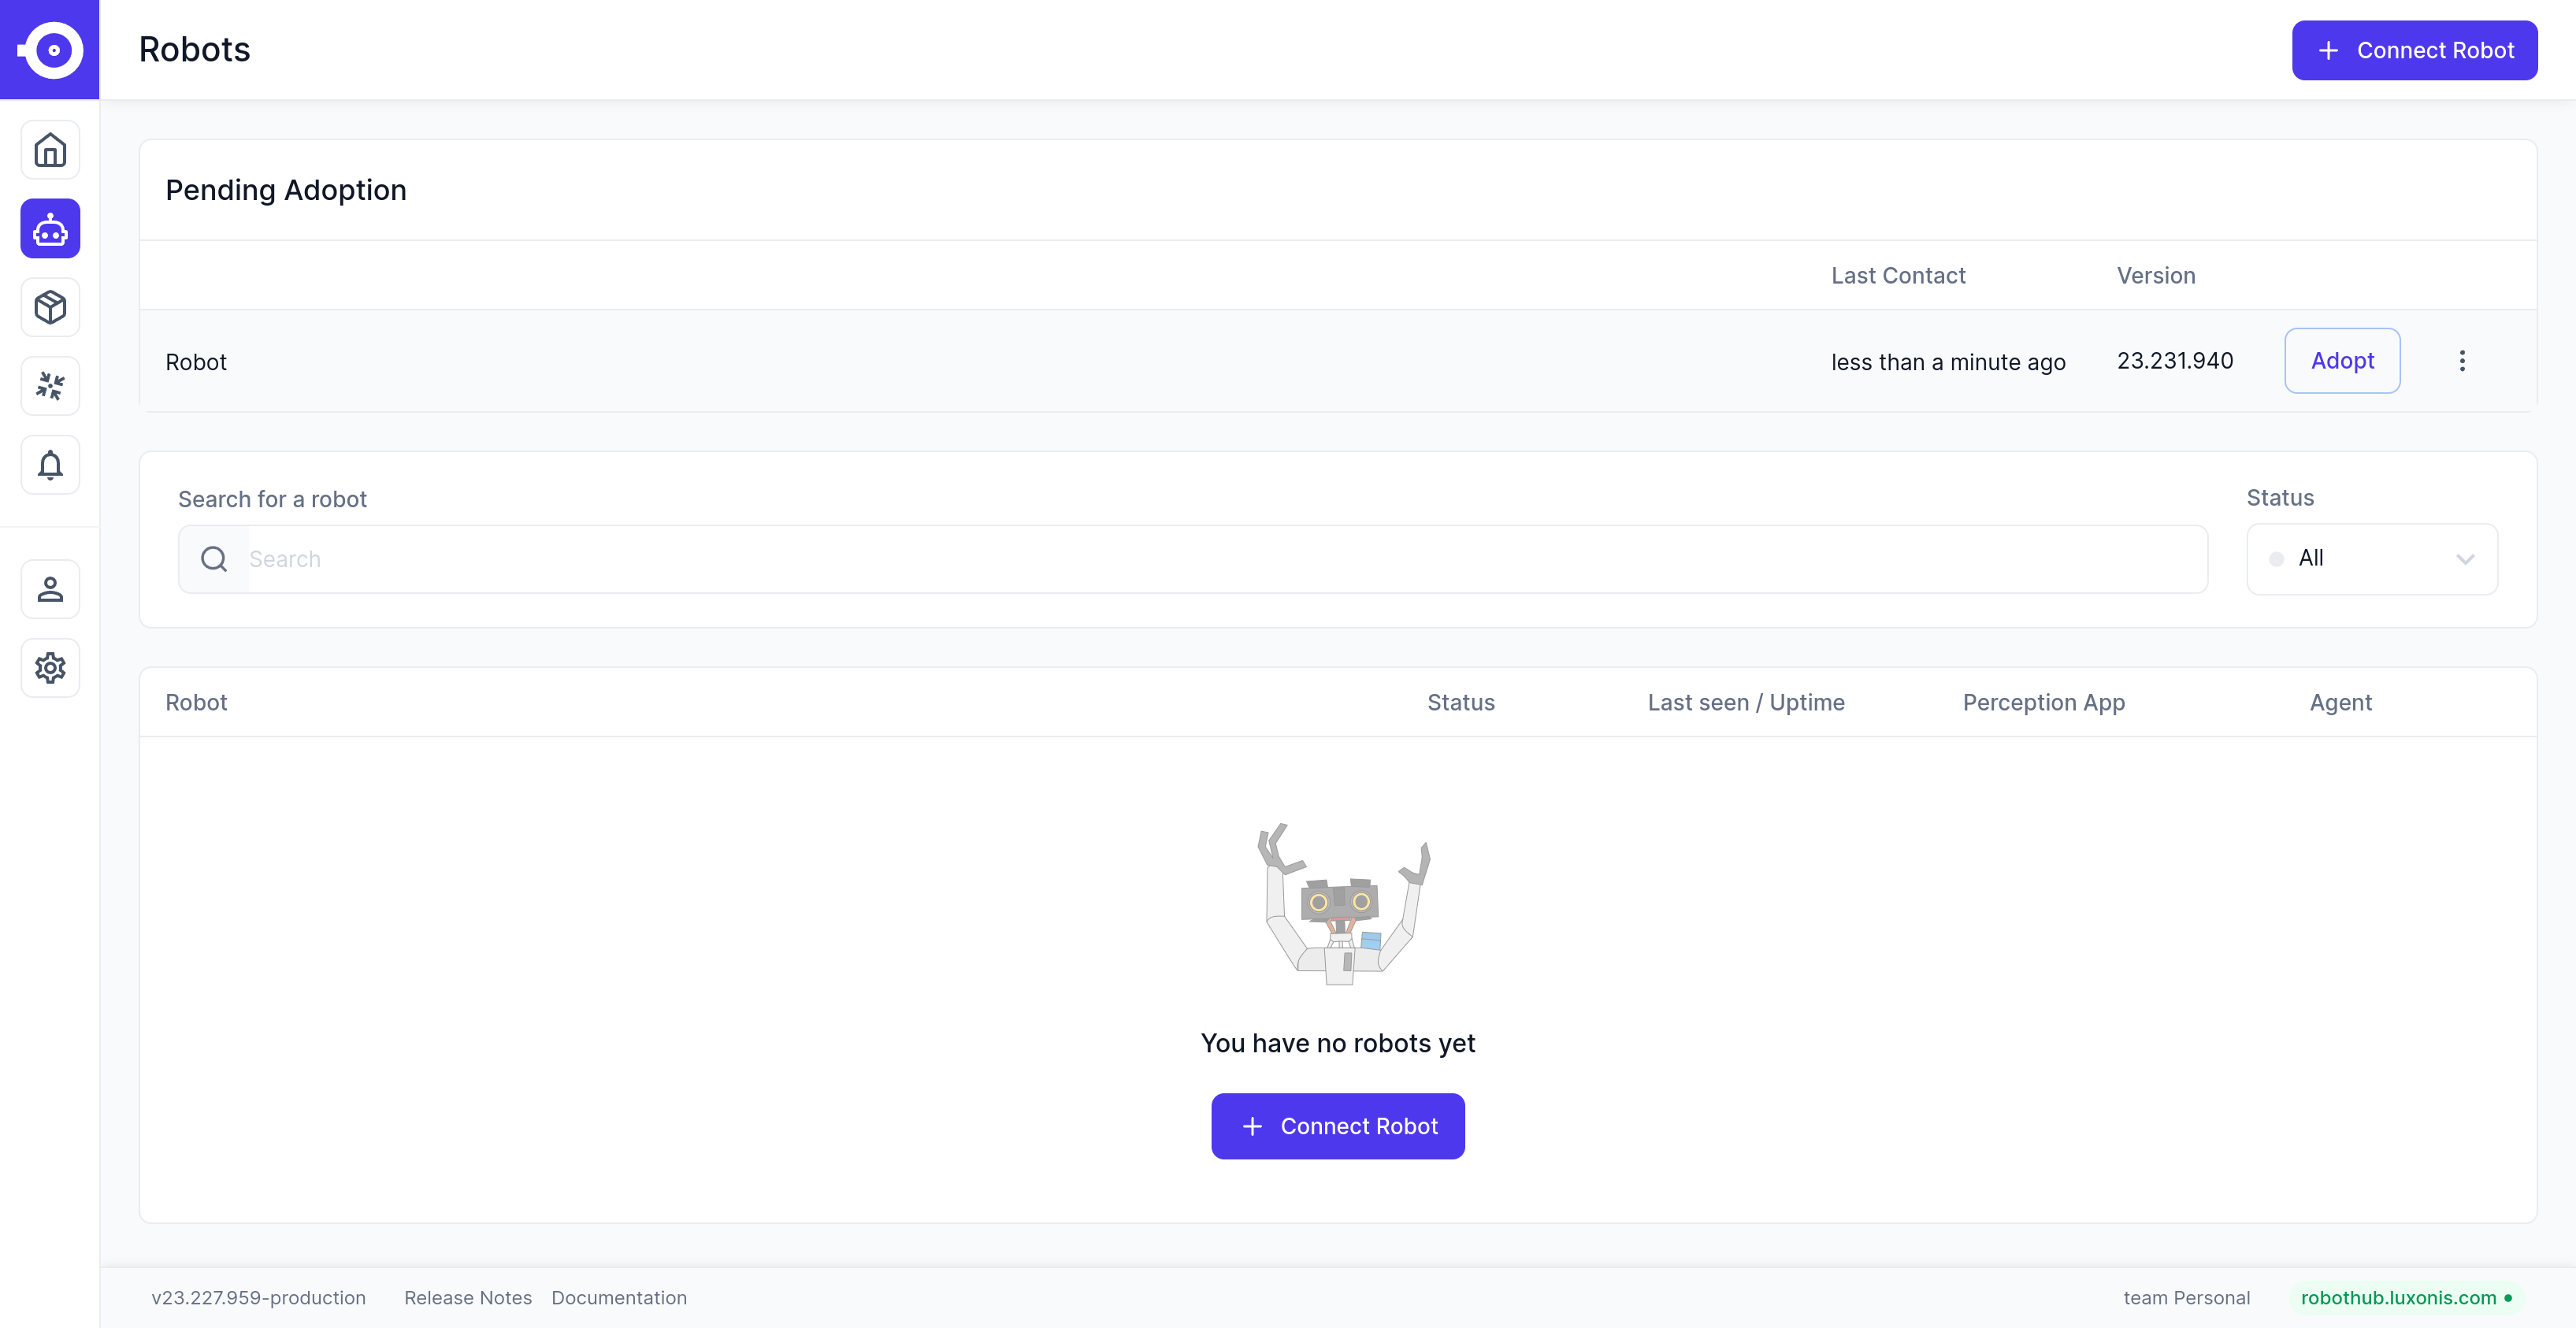
- Click on
Adopt - After some time the newly added robot will be displayed in the Robots section
If the robot(agent) isn't detected check the Common Issues section in docs.
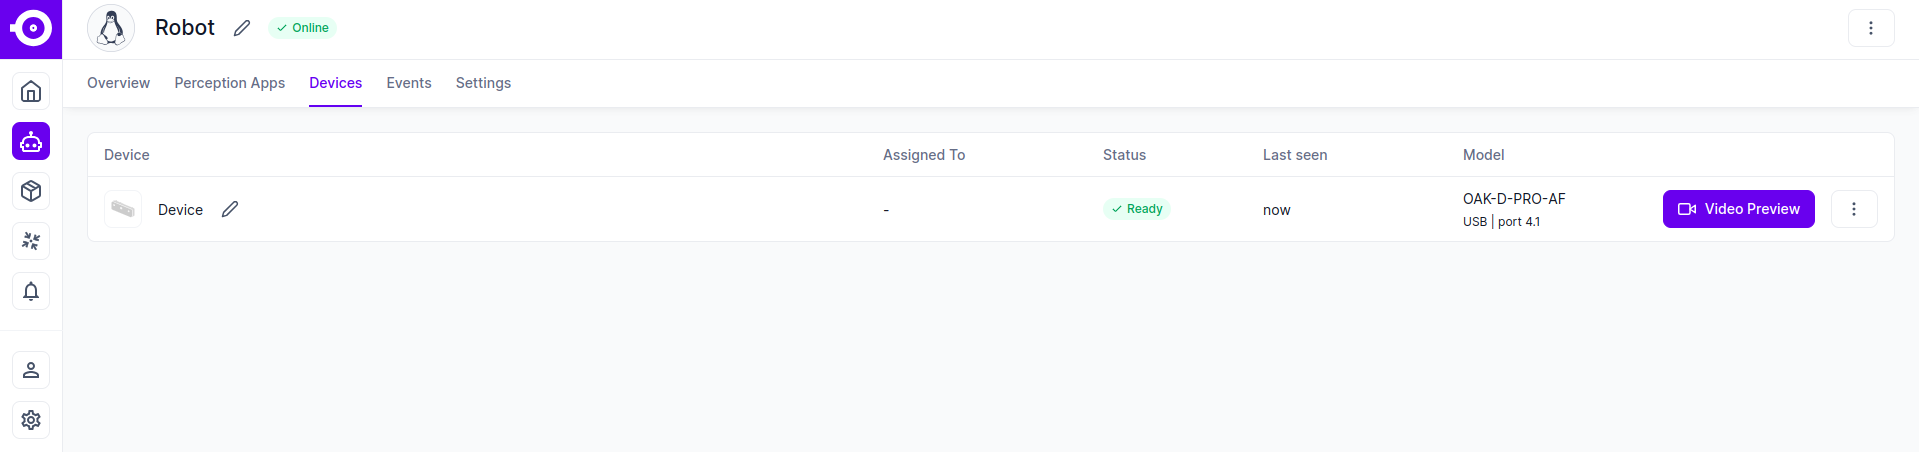
Connect device
- In the Robots section click on your Robot then select the Devices tab from the top submenu

Now it's time to proceed with connecting the OAK device itself. There are two ways to do this:
a) USB Camera
- Plug your camera into the computer where the agent is installed. - Make sure to use the USB cable provided in the package (or another USB 3-rated cable).
b) PoE Camera
- Connect the camera to your PoE switch or PoE adapter.
- You should see lights flashing next to the Ethernet port on the camera.
- Make sure the camera and the computer on which you installed the agent are on the same subnet (automatic camera discovery relies on local broadcast).
The agent will automatically detect the connected device and display it as a "Device" in the Devices table.
If the device isn't detected, ensure that the device is properly connected and powered on. If the issue continues visit Common Issues.